Ok, folks...Sorry I didn't get the start of this nonsense up last week, but activities in the kitchen got a little more exciting than I'd hoped. Anywhos...I posted the unbox of ingredient kits a couple weeks ago, and last week it was definitely time to get one of those kits brewed up! Since this is my first post regarding the actual brewing that happened in my kitchen, I'm going to go into way more detail for this one than I ever will again. If you're familiar with home-brewing and don't want to see where my process might differ from yours, you might wish to skip through fairly quickly. (And mebbe the next few too? I skipped a lot of photo ops!)

So after everything got rinsed off, the pots moved to the stove. The smaller two aren't planned to be used for much other than rinse buckets, but it's good to have some pots sitting about...as I was soon to find out. :-)


I posted this pic of the two Wyeast packets from both kits unboxed last week. The Smack Pack on the left is the Wyeast American Ale 1056 that I will be using with my Chocolate Peanut Butter Stout kit. You can see it's starting to expand a little bit already. This is a very active yeast, and it's not at all uncommon for the pack to expand a good bit before you "smack" it. It makes the nutrient pack slightly more difficult than usual to properly smack, but your yeast is going to be just fine. (It completely freaked me out the first time I used this yeast, though--I was certain the yeast would be all worn out or something!)


Fully expanded, feels like it could burst if you gave it a good squeeze. I decided not to start brewing until the next evening. It's good to sit like this for a bit. Once I start sanitizing equipment, this pack of yeast will get swished around in the sanitizer also.
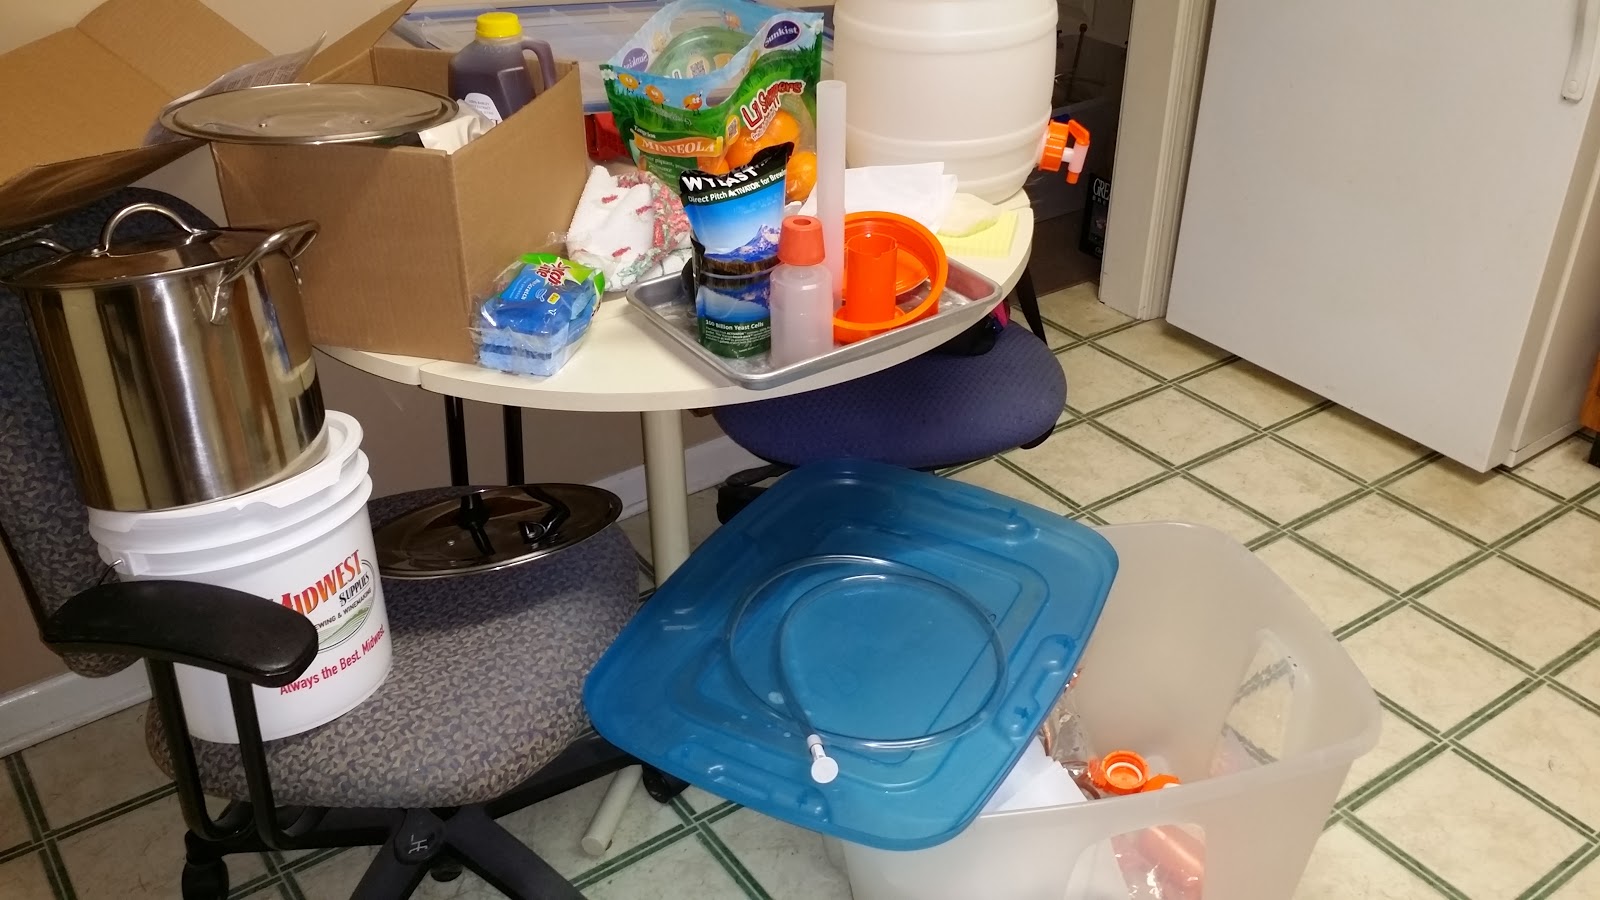
This is not a great pic, but it's most of the stuff that got sanitized. Along with all kinds of crap piled on my kitchen table that doesn't have anything to do with anything. The yeast packet, the orange lid and air lock for the Speidel fermenter, a siphon tube with a siphon sprayer doohickie :-) to help increase the oxegenation when transferring your wort from the brew pot to the fermenter. (This is the only time you ever want to add any oxygen--once the wort has cooled, and just before you pitch your yeast. The yeast need enough to get started, but adding any later just adds off flavors. This little plastic doohickie doesn't do much, but it was only a couple of bucks, and certainly doesn't hurt anything!)
So, I had everything sanitized Sunday afternoon, just needed to let it all air dry before I got started.
Several hours later it was time to get down to business. I skipped a lot of photo opportunities from this point out...I'll try to do a better job with the next batch. Specialty grains were all bagged up, 6 gallons of water measured into the brew pot, and things got started. I do have an electric stove, so to help bring things up to temp more quickly, and to raise the brew pot off the surface of the stove a little higher, I added what's typically called a "canning element" to my stove last year. Designed for home canning on electric stoves, they're just the ticket for home brewing on an electric stove!

Here is the start of the boil. It's gonna take my poor little electric stove more than an hour to bring that big pot to a full boil.


When I hit a full boil, all hell broke loose...I was going to pull that big grain bag out and let it sit in a strainer over one of my smaller pots while I added the Dried Malt Extract and Liquid Malt Extract to the brew pot. But when I went to pull the grain bag, the grains didn't all come with! I originally thought it had burst a seam, but I think I just didn't have one corner tied tightly enough to hold up to all the stirring about it received. Regardless, it was ONE HOT MESS!!! A good deal of scooping and mucking about with very, very hot liquid, all while trying desparately to NOT stir things about any more than absolutely necessary. (Stirring and adding oxygen to the wort at this point is not going to add anything pleasant to the end result!) Anyhow, after recovering as well as possible, I cranked the heat back up. Once it hit a full boil, I added a hops bag with the 1 oz. Chinook and 3/4 oz. Spaltz. At that point, it's just a matter of watching the clock...while watching the pot to make sure nothing boils over. About 40 minutes later, I added another small hops bag with 1/2 oz of Spalt aroma hops. A few minutes after that, I dropped my copper coil wort chiller in the pot, so it can be boiled sterile. (I need to take a picture of that amazing item doing it's stuff--it's freaking awesome!)

Anyhow, once the boil was done, I started the cold water through the coils, and half an hour later everything was cooled down enough to transfer to that Speidel primary fermenter. Before moving the wort to the fermenter, I did pull out enough wort to test for specific gravity. By floating a glass hydrometer, this will tell me how much sugar is in the original wort; when I test it later, I can tell how much sugar has been converted to alcohol. By comparing this "Original Gravity" to results of the same test later, I'll be able to determine when it is safe to bottle this brew up, if there have been any problems with the yeast (i.e., if more sugars remain than expected, perhaps something has gone wrong with my yeast, etc.,) and I will also be able to determine the alcohol content of the final product.
I woulda swore I took a pic of the test tube full of goodness!?!
So my Original Gravity came out at 1.015 (which seems really high for what I was working with...part of the mash still floating about?) I moved the cooled wort into that Speidel, and pitched my yeast. Capped everything off, topped off the air lock with some cheap vodka, threw a t-shirt over the Speidel to keep off the drafts in the corner of my pantry, and called it a night.
The day after, everything was doing it's stuff..bubbling away as the yeast created CO2 and alcohol. I was glad to have that 7.5 gallon Speidel--last time I made this recipe, it blew the airlock out the top of the fermenter and made a huge freakin' mess! This batch might not have gotten quite that active, but the foamy krausen did climb halfway up the side


Once I had all 5 gallons transferred, I "carefully" stirred the cacao and peanut butter powder into the wort, trying to be as gentle as I could. (hey, you be gentle with a 3 foot spoon swishing round in a 5 gallon bucket!) Anyhow, once I had it stirred as well I could without getting things too excited (at this point, you don't want to add any oxygen, if you can help it) I tightened up the lid, add some whisky to the air lock (the bottle was nearby, and the whisky can be dumped into the brew on bottling day.
After all that mucking about, I'm going to let it sit for a few days. Recipe calls for cacao nibs to be added a few days after moving the brew to the secondary, so we'll give it a good look then. And those cacao nibs are going into a hops bag before being added to the secondary. Took forever to remove those nasty little things from my auto-siphon and bottling wand last year!
No comments:
Post a Comment